Flaskをdigitalocean(ubuntu18)にインストールの続き
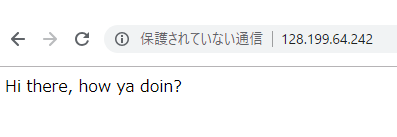
前回の作業でipアドレスをブラウザに打ち込んだ結果
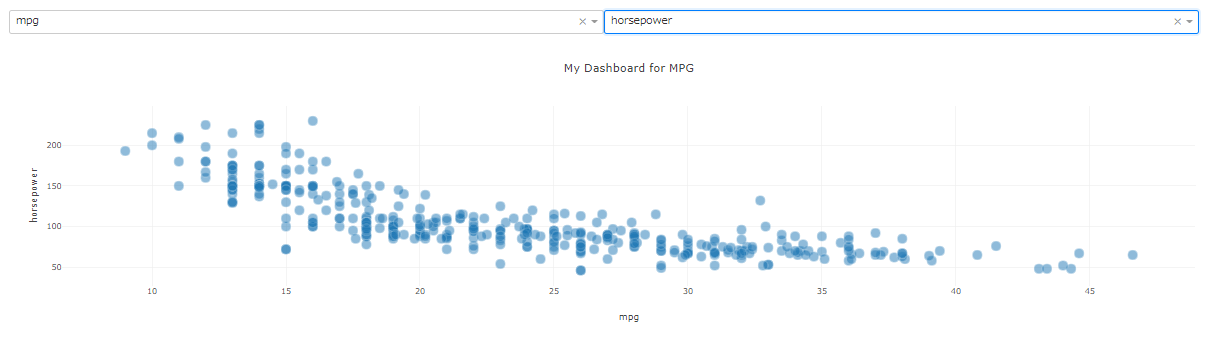
以下のように作動するようになったので今回は
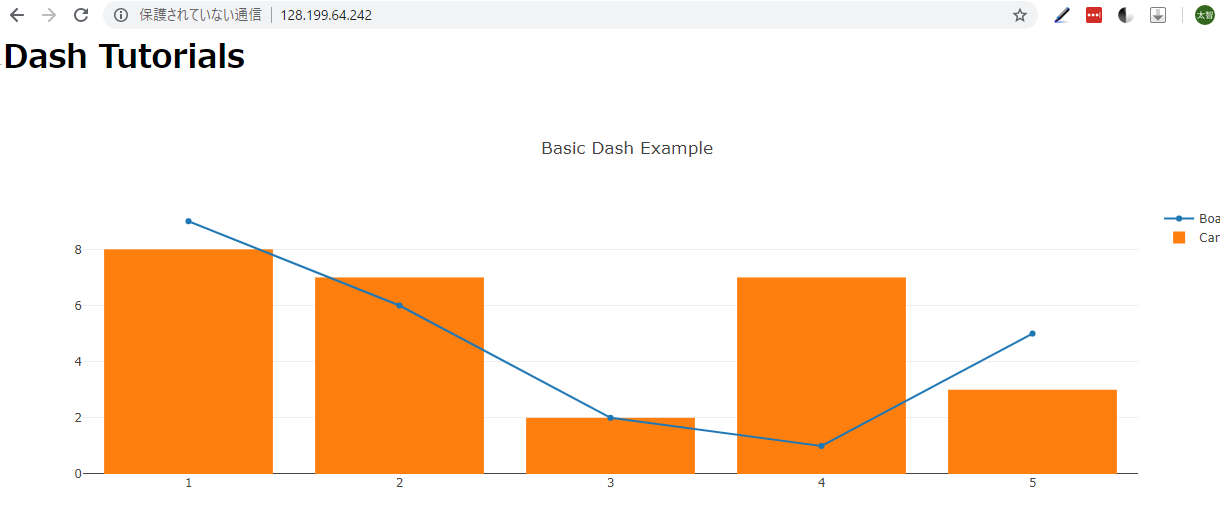
実際にdashグラフを動かしてみる

dashのコンポーネント等をインストールする
|
1 2 |
sudo pip3.6 install dash dash-renderer dash-html-components dash-core-components plotly |
■pythonプログラムを書く
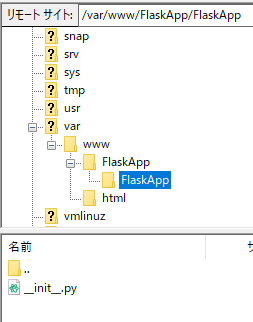
cd /var/www/FlaskApp/FlaskApp
へ移動し
nano __init__.py
に以下を書き込む
server = app.serverを必ず記述する
|
1 2 3 4 5 6 7 8 9 10 11 12 13 14 15 16 17 18 19 20 21 22 23 24 25 26 |
import dash import dash_core_components as dcc import dash_html_components as html app = dash.Dash() app.layout = html.Div(children=[ html.H1(children='Dash Tutorials'), dcc.Graph( id='example', figure={ 'data': [ {'x': [1, 2, 3, 4, 5], 'y': [9, 6, 2, 1, 5], 'type': 'line', 'name': 'Boats'}, {'x': [1, 2, 3, 4, 5], 'y': [8, 7, 2, 7, 3], 'type': 'bar', 'name': 'Cars'}, ], 'layout': { 'title': 'Basic Dash Example' } } ) ]) server = app.server if __name__ == '__main__': app.run_server(debug=True) |
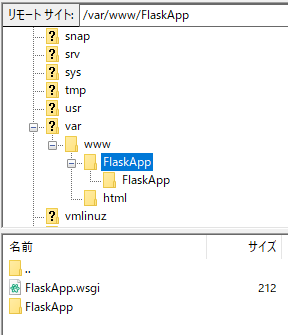
cd var/www/FlaskApp
へ移動し
nano FlaskApp.wsgi
で最後の一行をfrom FlaskApp import server as applicationに変更
元はfrom FlaskApp import app as applicationとなっていた
|
1 2 3 4 5 6 7 |
#!/usr/bin/python3.6 import sys import logging logging.basicConfig(stream=sys.stderr) sys.path.insert(0,"/var/www/FlaskApp/") from FlaskApp import server as application |
■python実行
service apache2 reload
cd /var/www/FlaskApp/FlaskApp
python3.6 __init__.py